DISCLOSURE: THIS POST MAY CONTAIN AFFILIATE LINKS, WHICH MEANS WE MAY RECEIVE A COMMISSION IF YOU CLICK A LINK AND PURCHASE SOMETHING. PLEASE CHECK OUT OUR DISCLOSURE POLICY FOR MORE DETAILS.
What You Need to Begin
A PS3 Slim
An external USB Drive that matches your PS3’s internal drive capacity
Your mileage as far as USB drive formats will vary, but many external USB drives either come pre-formatted in FAT32, come with software that will allow you to reformat the drive to FAT32, or you can download free utilities from your drive manufacturer or use utilities such as EASEUS Partition Manager or SwissKnife. Depending on your computer’s operating system built-in utilities like Windows Disk Management or Disk Utility on the Mac will get you where you need to go. Since there are so many possible options and variations we’re not going to direct you in any particular direction – once your external USB drive is formatted with FAT32 you are ready to begin.
Video
Steps to Backup Your Playstation3 Slim
1) Power on your PS3 Slim.
2) Plug in your FAT32 formatted external USB drive to one of the empty USB port on your Playstation3 Slim.
3) On the XMB, choose Settings, System Settings, Backup Utility.
4) Select Backup. Read the warning and select “Yes.”
5) Select your USB drive from the list and press the X button.
6) Your backup will begin.
7) Once your backup is completed, remove your external USB drive from your PS3 and put it in a safe place!
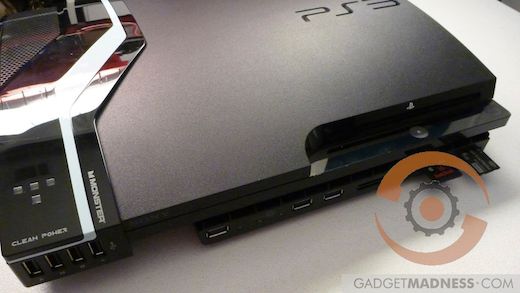
Interested in seeing us upgrade our PS3 slim’s drive to 750GB, add 8 USB ports, an SD card slot, MS Pro Duo slot, and more? Then head on over to “How To Upgrade Your PS3 Hard Drive With Backup & Restore, Step By Step Instructions – Part 2”


Comments are closed.